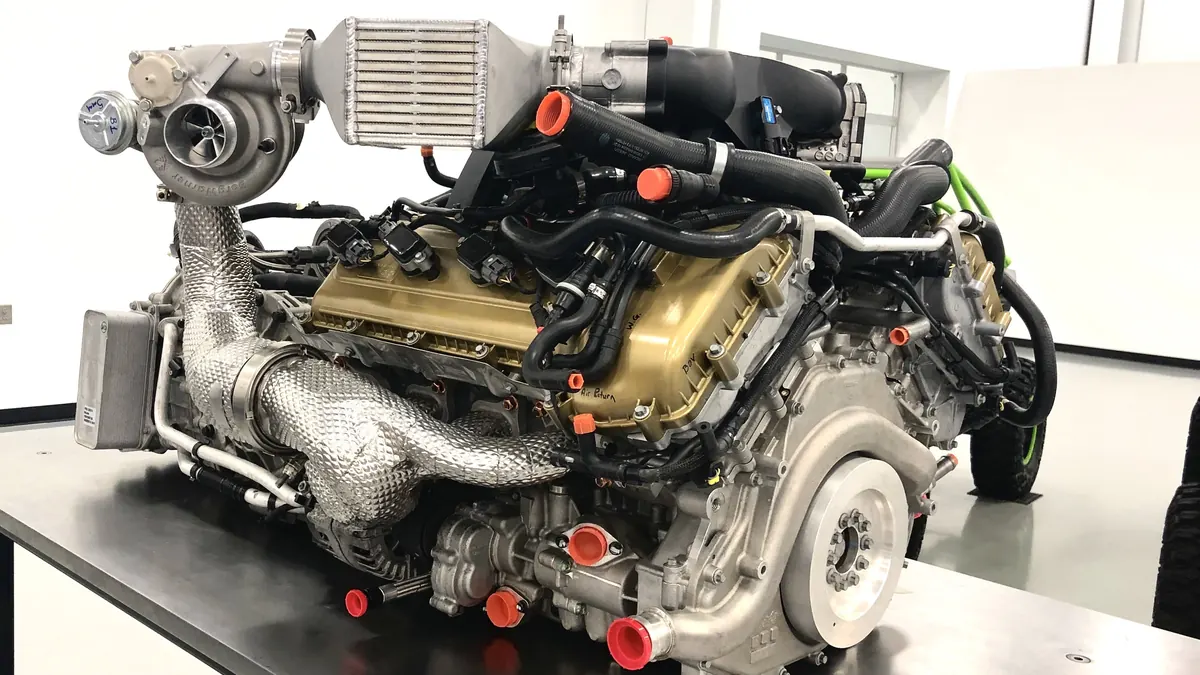
A freshly built engine is not a finished engine. The machined surfaces inside the block, cylinder walls, piston rings, bearing journals, valve seats, need time and specific operating conditions to wear into one another correctly before the engine is asked to perform at its limits. Get the break-in process right and you set the foundation for a reliable, long-lived build. Rush it, and you risk sealing in wear patterns that compromise ring seal, oil consumption, and ultimately power output for the life of the engine.
On a high-horsepower turbocharged build, the stakes are higher than on a standard street engine rebuild. The components are tighter, the tolerances are closer, the thermal and mechanical loads are more severe, and the margin for error is smaller. What follows is a thorough breakdown of how to approach break-in correctly on a serious forced induction build.
What Break-In Is Actually Doing
The primary goal of engine break-in is ring seal. Piston rings need to wear against the cylinder wall surface in a controlled way to create a consistent, gas-tight seal around the entire bore. This process is called "seating" the rings, and it requires the rings to experience enough cylinder pressure to press them firmly against the wall, but not so much pressure, heat, or sustained load that they glaze the surface before the contact pattern has fully established itself.
Cylinder glazing is the enemy of a proper break-in. It occurs when the cylinder wall surface becomes too smooth too quickly, typically from prolonged low-load operation, excessive idling, or the use of fully synthetic oil too early in the break-in process. A glazed cylinder wall reduces the micro-texture that allows the rings to seat properly, resulting in poor ring seal, increased oil consumption, and reduced compression, none of which can be corrected without pulling the engine back apart.
Beyond ring seal, break-in also allows bearing surfaces to establish their running clearances under load, valve seats to bed into their bores, and the entire rotating assembly to thermally cycle and stabilize before being subjected to full operating stress.
Break-In Oil: Why Conventional Matters Early
This is where many builders make their first mistake. Fully synthetic motor oil, despite being superior in nearly every other context, is too slippery for the early stages of break-in. Its friction-reducing properties, a selling point in normal operation, actively work against the controlled wear process required for rings to seat. For the initial break-in period, a conventional mineral-based oil is the correct choice.
A high-quality conventional break-in oil in the viscosity specified for your engine's clearances allows the mild, controlled metal-to-metal contact required for proper ring seating while still providing adequate lubrication to prevent damage. Some builders opt for a dedicated engine break-in oil, which typically contains a higher zinc and phosphorus (ZDDP) additive content than modern conventional oils, important for protecting flat-tappet camshafts and highly loaded surfaces during the critical early hours.
The transition to full synthetic should happen after the initial break-in period is complete and the first oil change has been performed, typically after the first 500 miles or the equivalent in dyno time, though this varies depending on the specific build and the builder's protocol.
Fuel Considerations for High-Horsepower Builds
On a high-horsepower turbocharged engine, fuel choice during break-in carries more weight than on a standard build. The engine is running a calibration, even if it's a conservative break-in tune, and that calibration was developed around a specific fuel octane rating. Running fuel below that rating during break-in risks detonation at the worst possible time: when the engine's ring seal isn't yet fully established and its components haven't fully stabilized under load.
For builds calibrated on E85 or race fuel, it's common to run a conservative break-in tune on premium pump gas, with the calibration adjusted accordingly to keep combustion events safe at lower octane. For builds running on pump premium as their operating fuel, 91 or 93 octane should be used from the first start. The key is matching the fuel to whatever calibration the engine is running during break-in, and ensuring the tuner has accounted for that fuel in the timing and fueling strategy.
Dynamometer Break-In: The Preferred Method for High-Performance Builds
For any serious high-horsepower turbocharged build, a controlled dynamometer break-in is the gold standard, and for good reason. The dyno gives the tuner precise, repeatable control over engine load, RPM, boost pressure, and operating temperatures in a way that street driving simply cannot replicate. Rather than hoping road conditions align with what the engine needs at each stage of break-in, the dyno puts every variable in the tuner's hands from the first pull.
Initial Start and Prime
Before the engine is ever cranked on the dyno, the oiling system should be pre-primed to ensure pressurized oil reaches the bearings before combustion begins. Once the engine fires, oil pressure and coolant temperature are monitored closely as the engine idles up to operating temperature for the first time. Any anomalies, unusual noise, pressure fluctuations, coolant irregularities, are addressed before proceeding. This initial run is a diagnostic checkpoint as much as it is a break-in step.
First Heat Cycles
With the engine at operating temperature, the tuner begins a series of controlled heat cycles, bringing the engine to temperature, loading it briefly at low RPM and moderate throttle, then allowing it to cool. These early cycles thermally stabilize gaskets, seals, and fasteners, and begin the ring seating process in a controlled environment. Boost is kept minimal or near zero during this phase, keeping cylinder pressures moderate while still generating enough load to press the rings against the wall.
Load Variation Over Sustained Low Load
As with street break-in, varied load is far more effective than steady-state operation at seating rings evenly around the bore. On the dyno, the tuner can execute precise load sweeps, progressively increasing RPM and throttle position across short pulls, then returning to idle, that would be impossible to replicate consistently on a public road. Engine braking under controlled deceleration is also used deliberately, as the resulting vacuum helps pull the rings against the cylinder wall from the opposite direction, promoting even seating around the full circumference of the bore.
Progressive Boost Introduction
One of the most significant advantages of a dyno break-in on a turbocharged engine is the ability to introduce boost incrementally and with precision. Rather than the binary nature of street driving, where boost is either fully on or off depending on throttle input, the dyno allows the tuner to hold a specific boost target and load the engine against it in a controlled way. Boost targets are raised in stages across the break-in session, allowing the rings, bearings, and rotating assembly to experience increasing cylinder pressures progressively rather than all at once.
Monitoring and Oil Analysis
Throughout the dyno break-in process, oil temperature, coolant temperature, oil pressure, and air-fuel ratio are monitored continuously. Many experienced builders will also pull an oil sample at the conclusion of the dyno break-in for spectrographic analysis, checking for elevated levels of iron, copper, or aluminum in the oil, which can indicate abnormal wear on specific components. A clean oil sample at the end of a dyno break-in is a strong indicator that the build is healthy and ready for the transition to normal operation.
Completion and First Oil Change
At the conclusion of the dyno break-in, typically two to four hours of controlled running depending on the build, the oil is drained while still hot to carry as many wear particles as possible out of the engine. A leakdown and compression test confirms ring seal before the engine is refilled with full synthetic oil and cleared for final calibration and full-power tuning.
Street Break-In: When the Dyno Isn't the Starting Point
In some cases a full dyno break-in isn't the first step, particularly when a car is delivered to the owner with an initial break-in tune and the expectation that street miles will precede the final dyno session. In these situations the same principles apply, but the owner carries more of the responsibility for executing them correctly.
The critical rules for street break-in mirror the dyno protocol in principle: vary throttle and RPM frequently, avoid prolonged idling or steady-state cruising, don't push the engine hard before it reaches full operating temperature, and resist the temptation to make wide-open throttle pulls before the rings are seated. The first 500 miles should be treated as a controlled process, not normal driving. After that initial period, an oil change and a return to the dyno for a leakdown test and the final calibration session complete the process properly.
High-Horsepower Specific Considerations
On a build making 600, 800, or 1,000-plus horsepower, a few additional factors deserve attention that wouldn't apply to a more modest build.
Turbocharger lubrication at startup is critical on a high-power build with large-frame turbochargers. The turbine shaft runs on oil-fed journal bearings, and those bearings need pressurized oil before the turbo is spun hard. After an initial start or after the car has sat for an extended period, allowing the engine to idle briefly before loading the turbo is good practice, particularly during break-in when oil passages may still be fully priming.
Thermal management is more demanding on a high-output build. More heat is generated at full load, and the cooling and oiling systems need to be functioning correctly from the early stages of break-in. Any sign of elevated coolant temperature, fluctuating oil pressure, or unusually high oil temperature during break-in should be treated as a serious concern and investigated before continuing.
The calibration matters more than on a stock rebuild. A high-horsepower turbocharged engine running a break-in tune that's too aggressive, too much boost, too much timing, too lean an air-fuel ratio, is at real risk during the very window when its components are most vulnerable. The break-in tune should be reviewed and signed off by the tuner before the engine ever fires, with conservative boost targets, safe air-fuel ratios, and appropriate RPM limits in place for the duration of the break-in period.
The Patience Dividend
Break-in is the one part of a high-performance build where patience has a direct and measurable return. An engine that's been broken in correctly, whether on the dyno, the street, or a combination of both, will seal better, consume less oil, and maintain its power output more consistently over time than one that was rushed. On a build that represents a significant investment in parts, machining, and labor, the additional time and discipline required for a proper break-in is the smallest part of the process, and the one most worth getting right.
If you have questions about break-in protocol specific to a Mega 3 Performance build, our team is happy to walk you through exactly what we recommend for your engine and power level.